
- name: Bode’s Galaxy (M81, NGC 3031)
- location: Ursa Major (Big Dipper) constellation
- RA: 09hr 55' 33"; DEC: +69º 04' 02"
- distance from Earth: 12 million light-years
- magnitude: 6.9
- apparent size: 24.9' x 11.5'
About Bode’s Galaxy (M81)
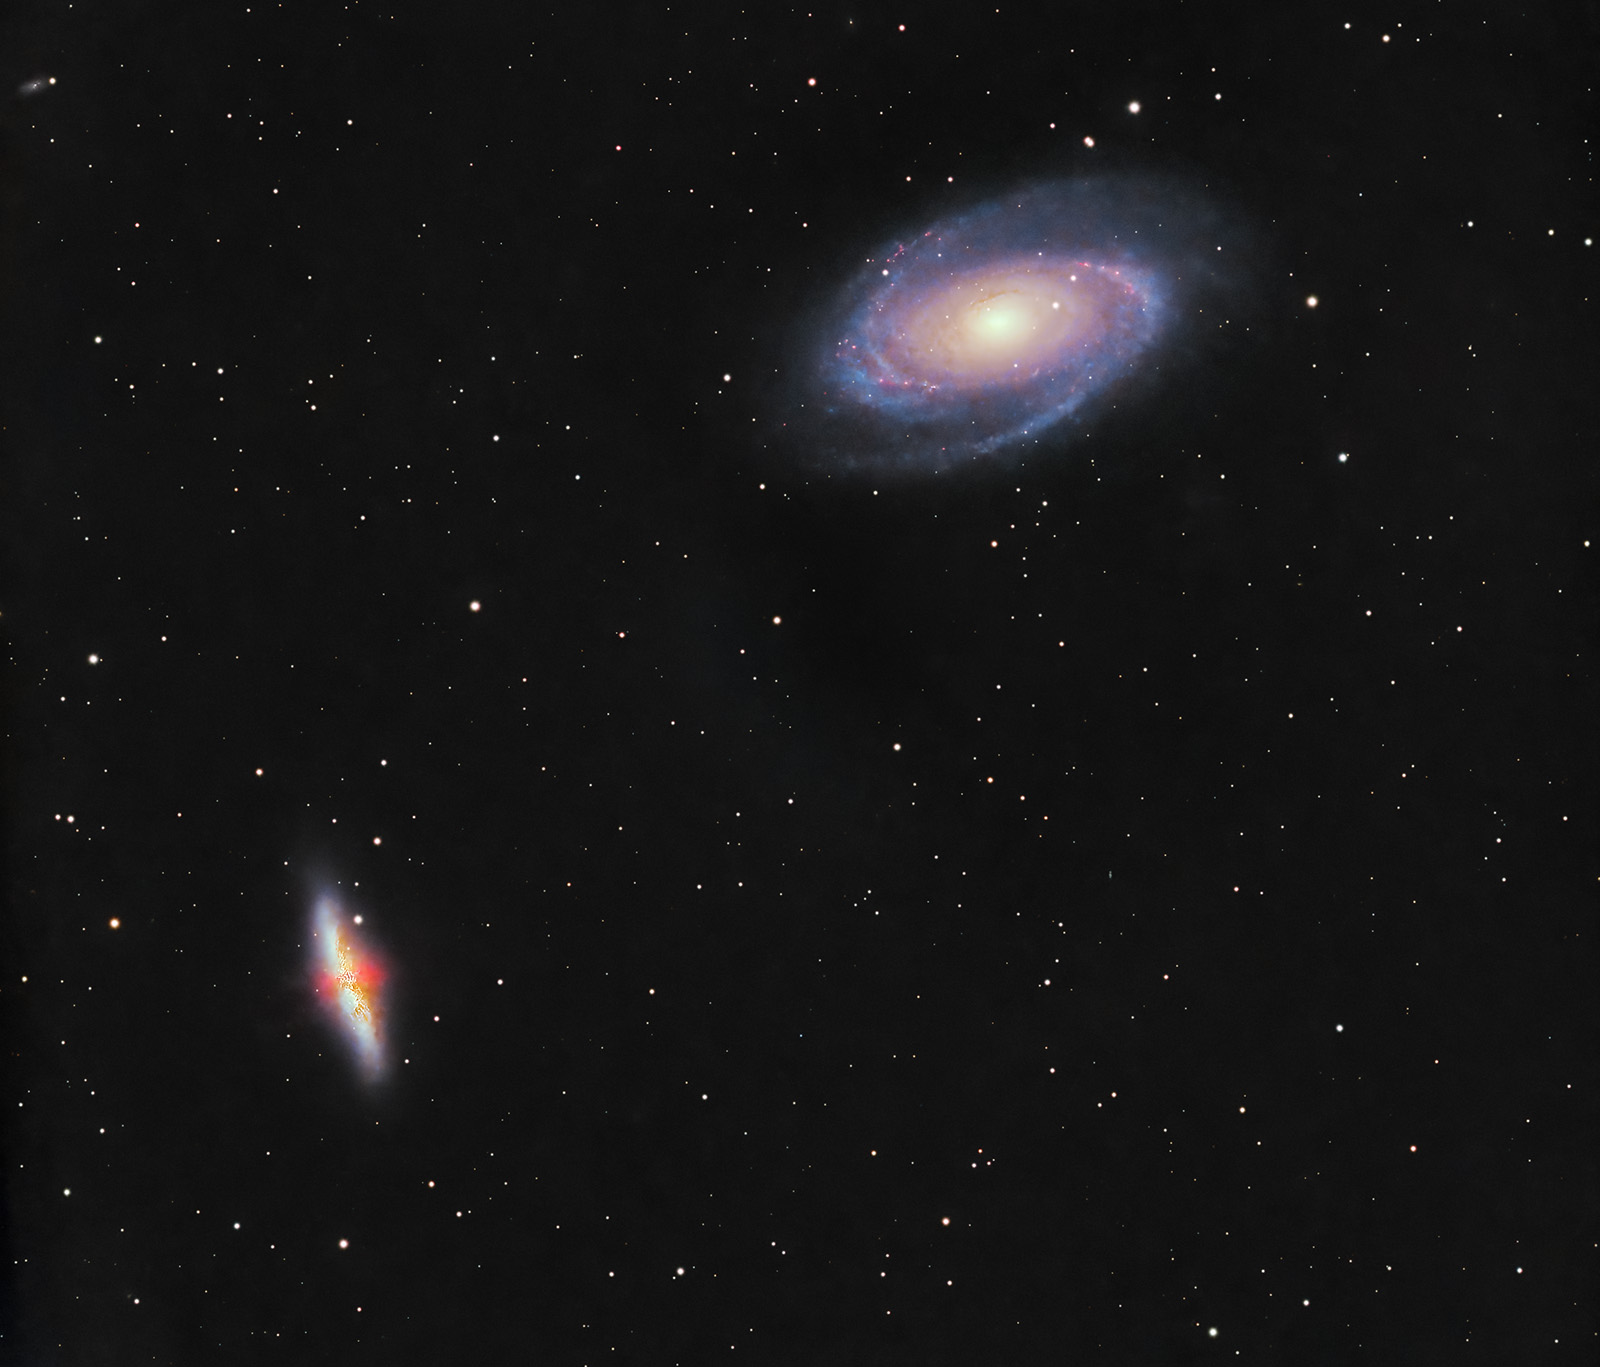
Bode’s Galaxy (M81) is one of the favorite targets of astrophotographers passionate about galaxy imaging. M81 is a spiral galaxy discovered in 1774 by Johann Elert Bode and is often photographed in the same frame together with another spectacular galaxy called the Cigar Galaxy (M82). The latter has an elongated shape with gaseous outflows emerging from its core and represents a true "cosmic laboratory" where many stars are being formed. Both M81 and M82 are broadband targets but rich in hydrogen-alpha (especially M82), which can be photographed during the galaxy season in spring. It is recommended to combine H-alpha frames with RGB data.
Image Gallery – Bode’s Galaxy (M81) and the Cigar Galaxy (M82) – February 24, 2024, Bucharest (Bortle 7–8), 9 hours RGB + 6 hours Ha
Image Gallery – Bode’s Galaxy (M81) and the Cigar Galaxy (M82) – March 19, 2022, Otopeni (Bortle 6–7)
How to find Bode’s Galaxy (M81) in the sky
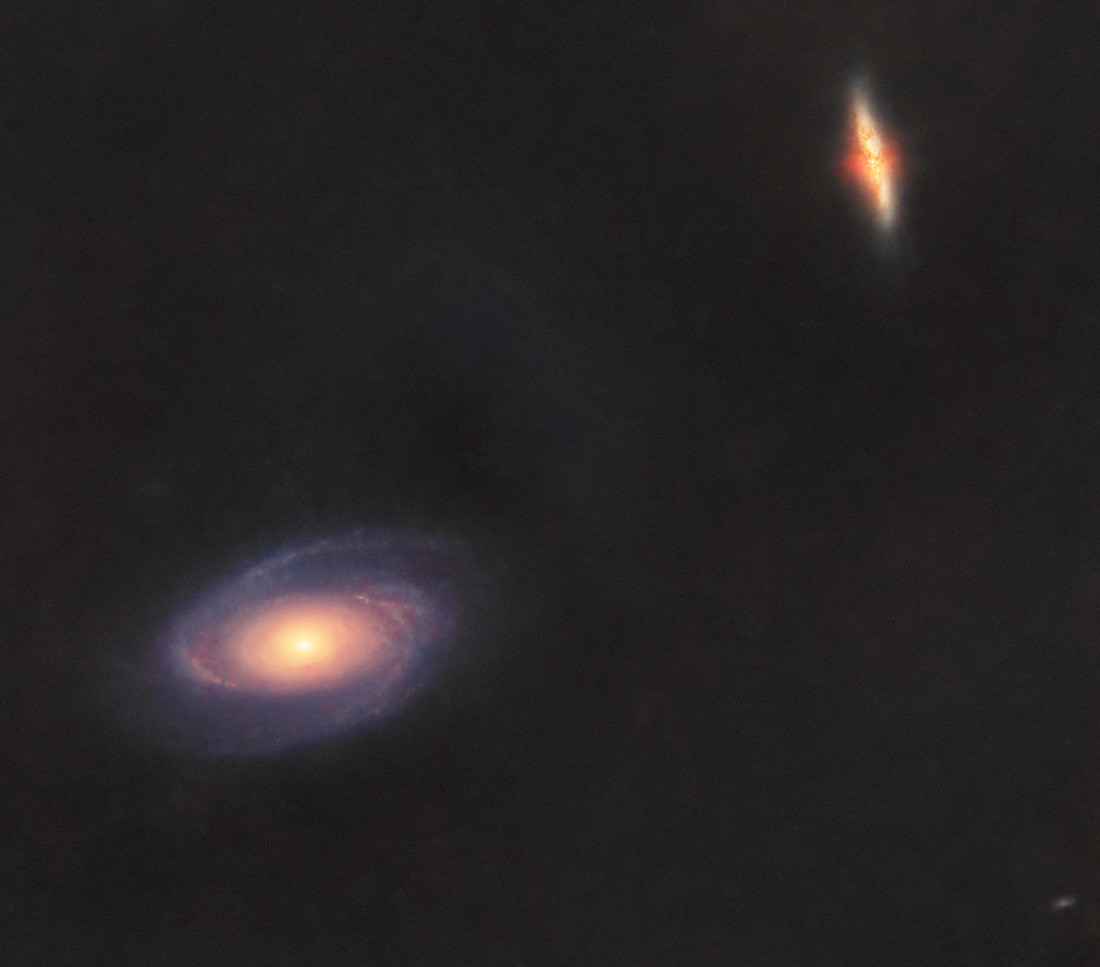
It is relatively easy to identify the position of Bode’s Galaxy in the sky, as it lies very close to the stars of the Big Dipper. An approximate method of locating it, even without a Go-To mount, is to draw an imaginary line from the star Phecda toward Dubhe and then extend it by a distance roughly equal to the separation between these two stars. This leads you to the region of the sky where Bode’s Galaxy is located. The image below shows the visual reference points.

If you want to frame both Bode’s Galaxy and the Cigar Galaxy in the same image, it is best to point the telescope/lens toward a position between the two galaxies, for example at coordinates RA: 09h 55' 10", DEC: +69º 18' 38", assuming a pixel size similar to that of the ASI 533 MC-PRO (3.76 µm) and a focal length of 600 mm.
Useful tips for photographing Bode’s Galaxy (M81)
The best time to photograph Bode’s Galaxy (M81) or the Cigar Galaxy (M82) is between February and May.
I first photographed Bode’s Galaxy (M81) on the night of March 19, 2022, when the temperature was very low (below freezing) and the Moon was nearly full. Although, in general, it is not recommended to shoot broadband targets when the Moon is present (in such cases, narrowband filters like Ha, OIII, and SII are more suitable), I still went out to image because the sky was extremely clear. In addition, the Moon was relatively far from the target. The chosen location was near Otopeni, under a Bortle 6–7 sky, so conditions were mediocre.
At that time I used: iOptron SkyGuider Pro star tracker with iPolar (polar alignment via laptop), ZWO ASI 533 MC-PRO camera at -20°C, Sigma 150–600 f/5.6–6.3 Contemporary lens at 600 mm and f/7.1, Optolong L-Pro 1.5" filter, ASIAIR+, ASI 120 MM guide camera, Manfrotto CX PRO3 tripod, and two dedicated batteries: Omegon Pro Powerbank 96k LiFePO4 307Wh 12V + Celestron Powertank Lithium Pro LiFePO4 159Wh.
There were many challenges. First, guiding quality was poor, and many frames had elongated stars. The maximum exposure time per frame was 2 minutes at 600 mm focal length. Later, I realized that the mount was only balanced on the RA axis, while on the declination axis it was heavily unbalanced, with most of the weight toward the front of the lens.
Another issue I encountered, also present in other sessions in early 2022, was that the stars appeared with sharp, angular shapes. As seen in the images, the stars were not round (nor even oval) but polygonal. After extensive research on astrophotography forums, I found that the likely cause was pinched optics. When using a photographic lens (Sigma 150–600 in my case), internal misalignments can occur due to the optical stabilization system. This is one possible cause. It is also one reason why lenses with optical stabilization are not ideal for astrophotography. Manual focus prime lenses are generally cheaper, have fewer internal components (thus fewer potential issues), and are lighter.
In short, the possible explanations were:
- star distortion caused by internal misalignment due to the optical stabilization system (even though it was turned off during imaging)
- star distortion caused by low outdoor temperature
- star distortion caused by using too wide an aperture (in my case f/7.1)
To solve this issue, in later sessions I stopped down the aperture to f/8.0. Additionally, following advice from astrophotography forums, I mounted the Sigma lens on a Canon 7D, activated the optical stabilization by half-pressing the shutter button, and waited 2–3 seconds for the stabilization noise to settle. I repeated this process several times. Also, temperatures were higher during later sessions. Since then, the stars no longer appeared angular—or at least they look much better. It remains difficult to determine which of the three factors was the main cause.
The second time I photographed M81 and M82 was from my balcony in Bucharest at the end of February 2024. It was a pleasant surprise to find a mount position that allowed me to image from home. Over the course of three nights, I imaged with a nearly full Moon nearby under a typical Bortle 7–8 sky. Two sessions totaling 9 hours were done using the L-Pro filter (broadband), and another session of about 6 hours was done using the Optolong L-eXtreme filter (Ha & OIII) to extract the H-alpha component and later blend it into the final image.
This time I used a Sky-Watcher EQ6-R Pro mount instead of the star tracker. Otherwise, the equipment remained the same.
Below you can see how Bode’s Galaxy (M81) and M82 look when all stars are removed from the image using the STARNET2 plugin in PixInsight, which relies on artificial intelligence algorithms.
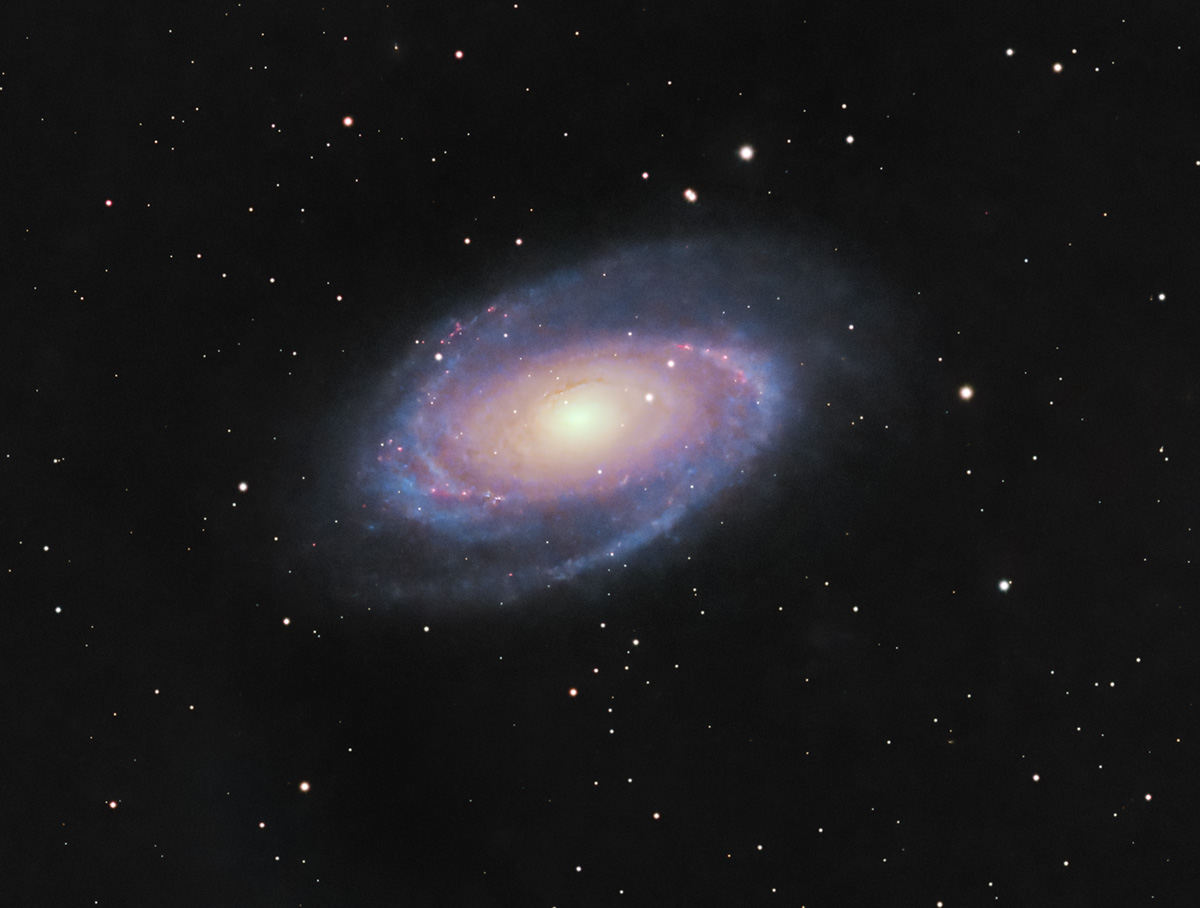
Below you can see how Bode’s Galaxy (M81) looks with stars included. Cropped version.
Tips for processing images of Bode’s Galaxy (M81) and the Cigar Galaxy (M82)
The first step is loading the frames (Light, Flat, Bias, etc.) into PixInsight using Script >> Batch Processing >> WeightedBatchPreprocessing to stack them, after which the software exports a single final frame to work with. I prefer this simpler method with minimal settings, although more advanced stacking approaches exist (including within PixInsight). Other software options include DeepSkyStacker (most widely used on Windows), SIRIL (Windows, Linux, and Mac), or Starry Sky Stacker (Mac).
Below you can see how a single frame (.fit format) looks and how the final master frame appears after several minutes of intensive processing (the frame from which actual processing begins). The initial .fit frame contains all imperfections (vignetting, gradients, dust spots on the filter), which will be corrected during stacking if flat frames were properly captured:
To combine H-alpha frames with RGB data, the following steps can be used (based on tutorials such as Adding Ha to Your RGB Data | High Point Scientific or Add Ha To RGB Data - PixInsight OSC Method):
- We need two master files: the RGB image obtained with the L-Pro filter (named "RGB") and the image from the session using the L-eXtreme filter (named "LXTREME"). Both should already be minimally processed (DynamicBackgroundExtraction, BackgroundNeutralization, BlurXterminator, SCNR, ColorCalibration/PhotometricColorCalibration, noise reduction).
- Use StarAlignment to align the LXTREME frame with the RGB frame.
- Extract the color channels (R, G, B) from both images and keep only RGB_R and LXTREME_R. Rename LXTREME_R as "Ha" for clarity.
- Apply LinearFit to Ha and RGB_R so that they match in brightness.
- Modify the Ha frame to reduce star intensity: in PixelMath use the formula: Ha - Q*(RGB_R - med(RGB_R)), where Q=0.5 (defined in PixelMath Symbols). Then apply another transformation: Ha - med(Ha).
- In PixelMath (uncheck "Use a single RGB/K expression"), enter:
- R/K: $T + Ha
- G: $T
- B: $T + 0.2*Ha
Apply these corrections to the original RGB image.
Then split the resulting RGB image into two: a starless image (all stars removed) and a stars-only image using STARNET2. From this point onward, the two images are processed separately and converted from linear to non-linear state, typically using masks.
At the end, recombine the stars with the starless image using PixelMath with the expression: combine(Starless, Stars, op_screen()), where "Starless" is the name of the starless image and "Stars" is the stars-only image. Optionally, stars can be reduced in the final image.